Create your workspace
Get your workspace, have a look around, and set the two things that make everything else easier.
Get your workspace
Your workspace is home for one brand. It holds your connected accounts, your posts and your team. We set it up for you, so there's nothing to install and no forms to fill in.
- Pick a planHave a look at the plans and choose the one that fits how many accounts and teammates you have.
- Get in touch and payEmail our team with your brand name and the plan you want. Pay by card, UPI, PayPal or bank transfer.
- Sign inAs soon as payment is confirmed we create your workspace and email your sign-in details. Sign in with Log in, and change your password from Settings the first time you're in.
Find your way around
The sidebar on the left is where everything lives. You'll spend most of your time in Publish and Calendar; Dashboard is where you land each time you sign in.
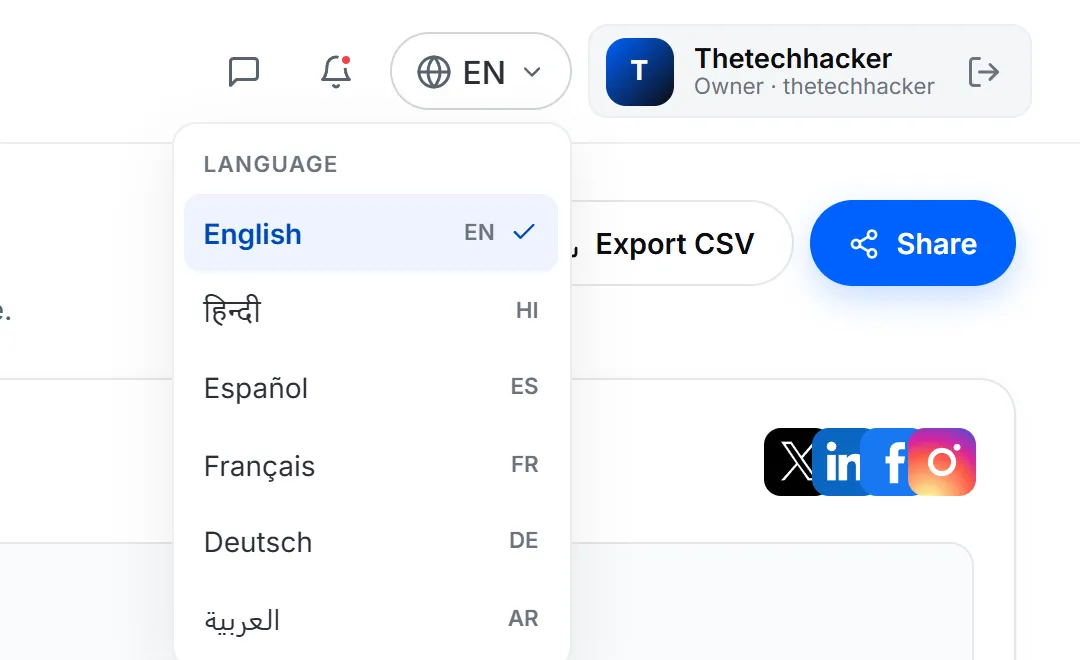
Prefer another language? Click the globe in the top bar and choose English, हिन्दी, Español, Français, Deutsch or العربية. Socira remembers your choice.
Set your timezone and posting times
Before you schedule anything, spend 30 seconds telling Socira when you like to post. It saves you picking a time for every single post later.
- Open Posting scheduleGo to Publish and click Posting schedule at the bottom of the channel list.
- Choose your timezonePick the city you work in. Every time in Socira, for you and your team, uses this timezone.
- Pick your timesSocira starts you with 09:00, 12:30 and 17:30 every day. Keep them, or add and remove times for each day, then click Save schedule.
Last updated 26 September 2026